 Ease Medical Apparatus And Instruments
Choosing the right Cannulated Screw is rarely a matter of selecting the largest or strongest implant. Fracture location, bone quality, reduction, and surgical approach all influence the final decision. A screw that looks ideal on a product chart may perform poorly in soft, fragile bone. Small details matter, including thread length, screw diameter, head design, and guidewire accuracy.
Orthopedic trauma specialist Professor Peter B. Giannoudis has often emphasized the practical principle, “The treatment of fractures is not simply about fixing the bone; it is about restoring function.” That perspective should guide every selection. This article presents seven practical tips for choosing a Cannulated Screw, from matching implant size to fracture anatomy to checking instrument compatibility and imaging quality. It also considers compression needs, purchase depth, insertion control, and the importance of verified clinical evidence.
Real operating rooms are not perfectly predictable. Guidewires can bend. Reduction can shift. Bone density can vary within one patient. These problems deserve honest attention, not confident assumptions. Surgeons should review current evidence, manufacturer instructions, and applicable regulatory requirements before use. Patient-specific judgment remains essential.
The right choice is measured by more than insertion speed. It must support stable fixation, protect surrounding tissue, and fit the planned postoperative pathway. A careful decision may take longer. That is often time well spent.
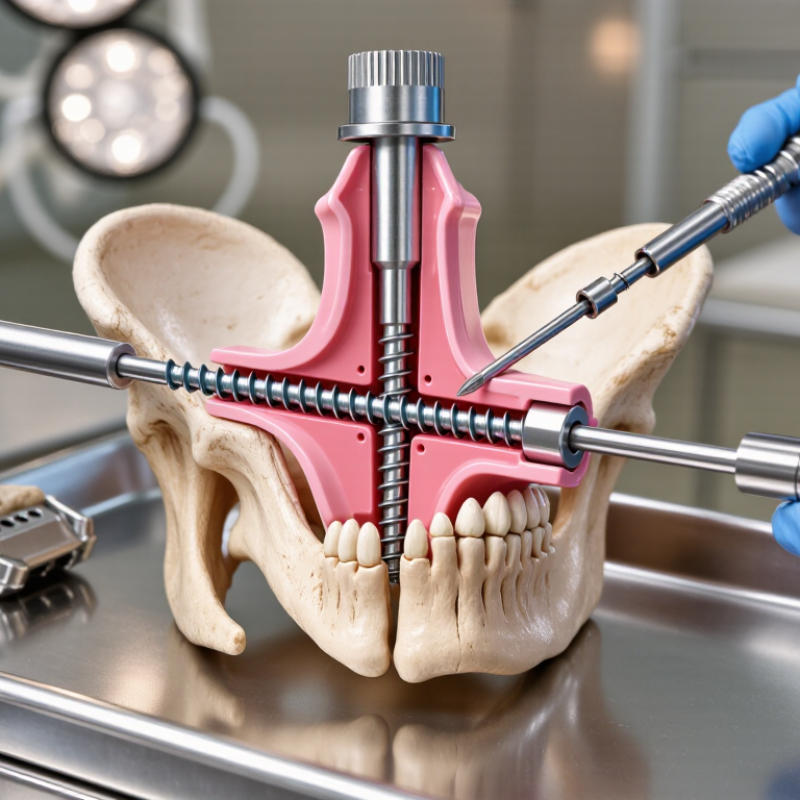
7 Tips for Choosing the Right Cannulated Screw
Understanding Cannulated Screw Design and Surgical Applications
A cannulated screw contains a central channel for guidewire placement. This design supports accurate trajectory control during difficult fixation procedures. Diameter, length, thread pattern, and head shape directly affect performance. Fully threaded screws can provide positional fixation, while partially threaded screws may create interfragmentary compression. The choice depends on fracture pattern, bone quality, and the required stability.
In operative practice, surgeons should match screw dimensions to measured anatomy, not visual estimation. A guidewire can drift, especially near curved or narrow bone surfaces. Fluoroscopic views from different angles help confirm depth and alignment. Thread engagement matters too. Insufficient purchase may reduce fixation strength, while excessive length can irritate nearby soft tissue. A washer may help distribute pressure in weaker cortical bone.
Cannulated screws serve many applications, including small-joint fixation, osteotomy repair, and selected fracture treatments. Their hollow design improves placement, but it does not eliminate surgical judgment. An oversized screw can damage bone. An undersized screw may fail to resist loading. This choice is not always obvious. Surgeons should consider local protocols, current evidence, patient anatomy, and the device instructions. I would also question routine habits, because familiar measurements can become inaccurate in unusual anatomy. Careful planning and controlled insertion remain essential.
| No. | Selection Tip | Design Feature to Evaluate | Typical Surgical Application | Key Verification Point |
|---|---|---|---|---|
| 1 | Match the screw diameter to the bone and fragment size | Common orthopedic cannulated screw diameters include approximately 2.0–7.3 mm, although availability varies by system. | Small-diameter screws are generally used in smaller bones and small fragments; larger diameters may be selected for stronger fixation in larger bones when adequate bone stock is present. | Confirm that the planned diameter will not split the fragment, compromise cortical bone, or interfere with nearby joints, growth plates, nerves, or vessels. |
| 2 | Choose the correct thread configuration | Partially threaded screws have a smooth shaft section and threaded distal portion; fully threaded screws have threads along most or all of the shaft. | A partially threaded screw can provide lag compression when the thread is positioned beyond the fracture line. A fully threaded screw is often used for positional fixation or when controlled purchase along the full length is desirable. | Ensure the threaded section is appropriately positioned relative to the fracture or osteotomy. Compression depends on the technique, screw geometry, and bone contact—not thread type alone. |
| 3 | Select a length that provides secure purchase without overpenetration | Cannulated screws are commonly supplied in multiple length increments, with options for short-thread and long-thread designs. | The screw should cross the intended fracture or fusion site and obtain sufficient purchase in the far fragment while avoiding prominent hardware or penetration into a joint. | Measure over the guidewire with the approved depth gauge or imaging method. Account for countersinking, washer use, oblique trajectories, and the thickness of any soft-tissue envelope. |
| 4 | Consider bone quality and the required holding strength | Important variables include core diameter, thread depth, thread pitch, tip design, and the available length of engaged thread. | Poor or osteoporotic bone may require careful trajectory planning, longer thread engagement, a larger compatible screw, a washer, or supplemental fixation when clinically appropriate. | Avoid relying on excessive insertion torque. Excessive torque can damage bone, strip the thread path, or make later removal more difficult. |
| 5 | Use the cannulation and guidewire system correctly | The central cannulation allows insertion over a guidewire, supporting controlled placement through a minimally invasive or percutaneous approach. | Guidewire-based placement is useful when accurate trajectory is important, including selected fracture fixation, arthrodesis, osteotomy, and epiphyseal procedures. | Verify guidewire position in multiple imaging views before drilling, measuring, and advancing the screw. The guidewire must remain controlled and should not be advanced unintentionally. |
| 6 | Check the material and imaging requirements | Common implant materials include surgical stainless steel and titanium alloys. Material choice can affect strength, stiffness, corrosion behavior, and imaging characteristics. | Titanium alloys are often considered when lower stiffness or compatibility with specific imaging and implant plans is important; stainless steel remains widely used for its strength and established surgical handling. | Review material compatibility with existing implants, allergy history, planned MRI examinations, and the applicable device documentation before surgery. |
| 7 | Evaluate the entire fixation construct, not the screw alone | Relevant accessories may include washers, insertion sleeves, drills, taps, guidewires, and compatible screwdrivers. | A cannulated screw may be used as an independent lag or positional screw, or as part of a larger construct with plates or other fixation devices, depending on the clinical objective. | Confirm instrument compatibility, sterile availability, backup sizes, torque limits, and the planned removal strategy. Follow the approved surgical technique and device instructions. |
Review radiographs and, when necessary, three-dimensional images before choosing screw dimensions. Measure the available bone length carefully. A screw that is too long may irritate soft tissue or cross the far cortex. Narrow corridors and weak bone can change the safest path.
A simple perpendicular fracture may respond to controlled compression. Oblique, rotational, or multi-fragmentary fractures may need several screws or extra stabilization. Cannulation improves guidewire placement, but it cannot correct poor reduction. Check alignment from more than one imaging view.
Threads should cross the fracture line when compression is intended. Compression depends on thread placement, not simply tightening force. Advancing the screw while watching the fracture gap can reveal unwanted movement. The plan may remain imperfect in fragile or irregular bone.
Evaluate the entry point, guidewire parallelism, screw spacing, and final prominence. Avoid placing screws too close together. Small spacing errors can reduce stability. Textbook geometry does not always match real anatomy.
A wire that looks safe in one view may be misplaced in another. Confirm that it remains centered through the intended bone corridor. Check its depth near the far cortex before inserting the screw. Small errors matter.
Excessive tightening may damage fragile bone or change fracture alignment. Advance the screw gradually and observe the fracture gap. A neat image does not always prove effective compression. Recheck alignment after final seating.
Review pain, swelling, wound condition, and functional progress with scheduled imaging. Look for maintained reduction, screw migration, lost compression, or delayed healing. A stable construct on day one may change under repeated loading. Recovery can surprise you.
Match activity limits to bone quality, fixation strength, and the treating surgeon’s protocol. Document the final screw position and the reasoning behind restrictions. This record supports safer decisions when recovery differs from expectations. Plans sometimes need revision.
Choosing the right Cannulated Screw requires a careful balance between implant design, bone anatomy, fracture characteristics, and surgical goals. Its hollow structure allows placement over a guidewire, helping the surgeon achieve more accurate positioning while supporting controlled fixation. Before selecting a screw, evaluate the fracture pattern, bone quality, available space, and the amount of compression required. Diameter and length should provide stable purchase without damaging surrounding structures, while thread design should match the desired compression and resistance to displacement.
Material selection, guidewire size, and instrument compatibility are also important for an efficient procedure. The screw system should work smoothly with the available tools and allow reliable insertion, adjustment, and removal when necessary. After placement, confirm the screw’s position, depth, alignment, and compression through appropriate imaging and surgical assessment. Ongoing postoperative evaluation helps verify stability, monitor healing, and identify potential concerns early. A thoughtful, anatomy-based approach improves fixation accuracy and supports better recovery outcomes.
